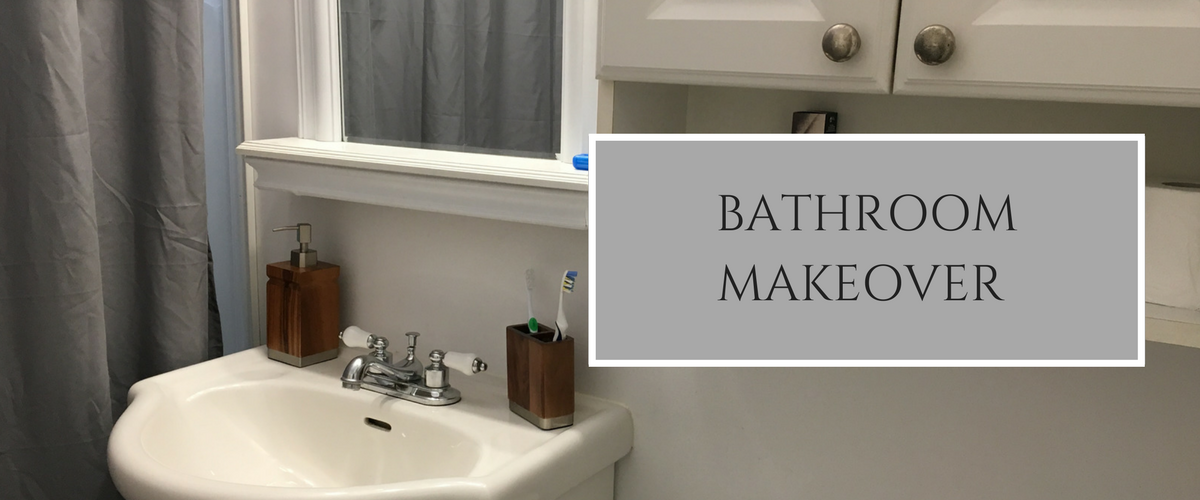
If you haven’t read about how we are doing a Home Makeover Series, you should definitely check out our first post. To sum it up really quick, we’re doing this awesome series for any readers out there who might be looking to improve the look and the feel of their home – even if it’s a rented space! That’s right – a home makeover series for renters!
We figured we would start off the series with the Bathroom. The main reason we chose this room first is because it is the smallest room in our current rental house, and also because we wanted to get started on doing some repairs as soon as possible in there.
The first week, we focused on our bathtub situation. Don’t get me wrong, I LOVE the fact that we have a bathtub – little bit sad we won’t have one in the Tiny House, but it’s all good. The condition of our bathtub was not great. Most tenants don’t take very good care of appliances and household items that remain in the home after they leave. That means that mold can easily start accumulating, especially in an older home like ours where there is no fan for ventilation in the bathroom.
One thing you can do as a renter, if you are so inclined to want to upgrade your bathroom a little bit, is to redo the caulking. And it’s actually pretty easy to do! (OK, it’s challenging, but it’s a simple task that can make a big different!)
If you aren’t too sure what to get, here is a list of all the tools we used for this part of the project:
- Blade
- Exacto Knife
- Finger Nails (seriously, they were more effective than the blade!)
- Paper Towel / Rags
- Paint thinner*
- Caulking Gun
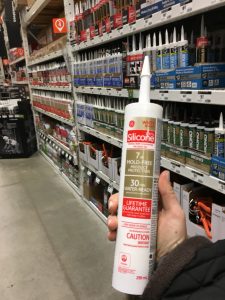
- Silicone Caulking
- Finger
That’s it, as simple as that.
If you’re not sure what you’re looking for and you need to buy some of these items, just ask for help at your local hardware store. I went by myself to Home Depot because I wanted to try to learn how to do these home improvement projects on my own. I asked a nice employee what kind of caulking I would need to do some work in the bathroom, mostly around the bathtub, but also around a window which is located in our shower. He explained that there are two types of caulking: latex (you can paint this kind) and silicone (you can’t paint this kind). Since we aren’t painting the caulking, we go with the silicone caulking.
Side note: if you don’t know what caulking is – which is totally fine, because if my dad hadn’t been constantly doing all the house repairs by himself, I wouldn’t know either – I’ll give you a quick explanation. Caulking is a fancy word for foamy sticky stuff that prevents water from entering into cracks. Boom.
So make sure you don’t miss any spots when you’re doing the caulking because no one wants to deal with mold. No one. Ever.
But of course you can’t start putting the new stuff on without taking off the old stuff. And here a tip that apparently every single man in my life likes to remind me: make sure you take ALL of it off, or else the new stuff won’t seal properly. Ok, I get it. Be perfectionist. Don’t leave ANYTHING in there. No man left behind. Squeaky clean. Will do.
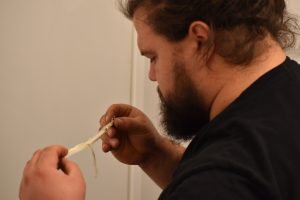
Max and I worked together on the project because he is somehow even more perfectionist than I am, and also because I would much rather he show me how to do it correctly. We worked on removing the old caulking together, but it was pretty straight forward and I would have felt very comfortable doing this with no supervision. Basically all you have to do is cut it, preferably at one of the ends, and peel it off. After the big chunks are off, then comes time to be meticulous. You have to scrape every last piece off as best as you can. And after trying with the blade for a few minutes, I realized my fingernails were doing a much better job.
We went over the entire bathtub and window area probably 3 or 4 times to make sure there was absolutely nothing left of visible caulking. Note: if there’s caulking stuck inside the crack, try to get at it, but it’s not the end of the world if you can’t.
Then Max did something I probably wouldn’t have thought of doing – he applied paint thinner to remove any grease or oil to make sure the new caulking would properly stick to the surface. You could also use alcohol to do this, but Max explained that paint thinner evaporates faster, so that’s what we went with. He turned the heat on in the bathroom overnight and we put our dehumidifier in there to help the process.
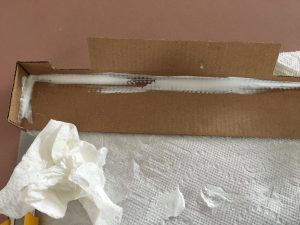
The next morning, we made sure everything was bone dry, and we got right to it. Ok, well not right to it. Max first showed me how the caulking gun works – how you need to put enough to make sure it won’t leave any holes, but not to put too much or it will dry in clumps and/or smudge everywhere. The technique is a little tricky, but you can get the hang of it by practicing on cardboard.
Then it was time to get to work on the real thing.

But we won’t be revealing the final product quite yet. Stayed tuned for more posts these coming weeks – lots of painting to do, items to build – my favourite part! – and possibly replacing a few items to give the bathroom a new look.
—
Have you ever tried doing a project like this by yourself? Let us know your thoughts in the comments below!
– C. from Tiny Adventures
[…] for Renters? We decided to tackle the bathroom first. We’ve shared with you how we went about redoing the caulking around the bathtub and window, how we cleaned and painted part of the walls, as well as how we […]
[…] we’ve been focusing on doing a few small renovations in the bathroom. We talked about redoing the caulking, painting the walls, and now it’s time to talk […]
[…] update on the Home Makeover for Renters! We started working on the bathroom last week and covered how to do caulking yourself. This will give your bathtub, window or sink a brand new look. Today’s topic will also be able to […]
[…] we’ve officially finished doing all the work in bathroom! We shared with you our experience redoing the caulking, painting an accent wall, and buying some new decor. The last post even explains how to make your […]